 Velvet Light
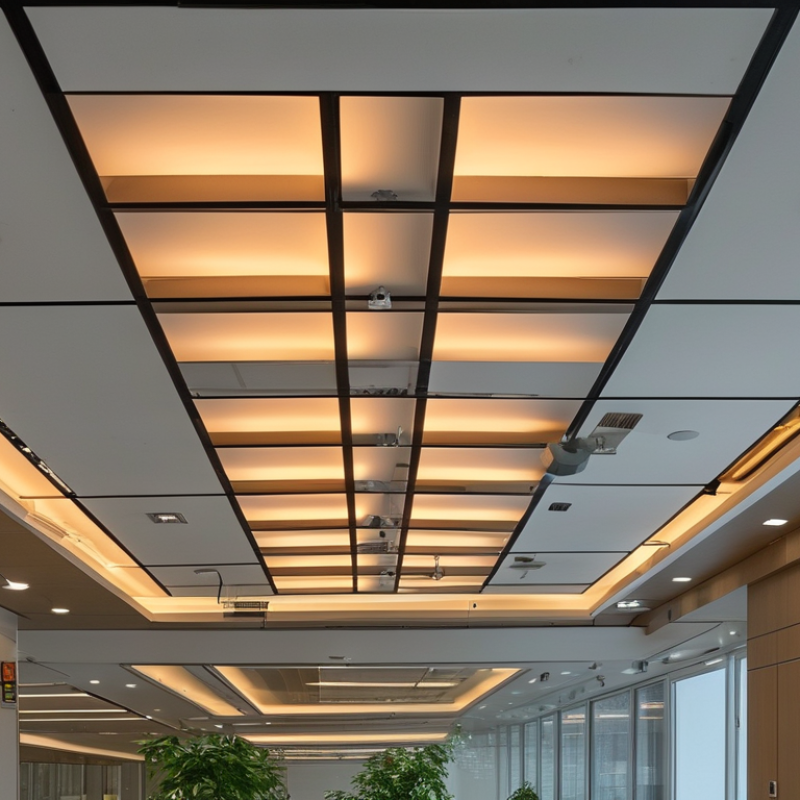
7 Tips on How to Install LED Panel Lights
Connect the LED panel driver before securing the fixture. Turn off the circuit breaker, then confirm zero voltage with a tested meter. Measure the ceiling opening twice; a few millimeters can leave visible gaps. Check the panel’s voltage, wattage, dimming method, and driver output before making connections. Loose terminals create heat and may cause flickering. Keep the driver accessible when possible, rather than burying it above an unreachable ceiling.
Route the live, neutral, and earth conductors through approved connectors. Match each wire carefully and tug-test every connection by hand. Support the panel with safety cables where local electrical rules require them. Lift the panel evenly into the grid or cutout, then press it firmly against the ceiling. Do not force a twisted frame into place. It can bend and create uneven light. I have seen installers rush this step, then reopen the ceiling after a persistent rattle appeared.
The U.S. Department of Energy reports that LED lighting can use at least 75% less energy and last up to 25 times longer than incandescent lighting. That performance still depends on correct installation and thermal clearance. Leave space around the driver, especially above insulated ceilings. Restore power and test the switch, dimmer, and emergency function. Watch for buzzing, delayed startup, or uneven brightness. These signs deserve investigation, not concealment. A 2023 lighting safety review also emphasizes qualified installation, documented testing, and suitable heat management for reliable service.
